Tuesday, November 10, 2020

Spraying Primer


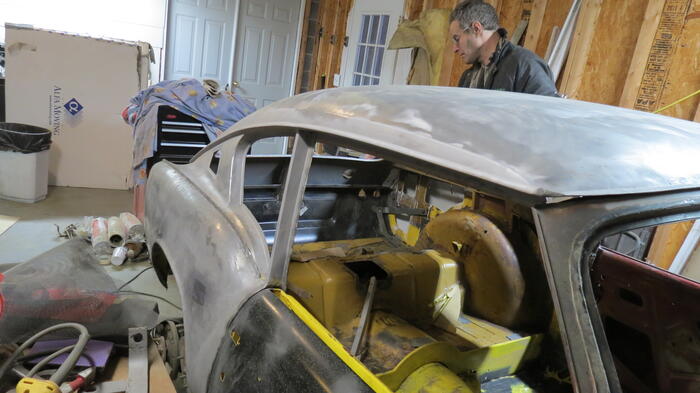
With cold weather coming, and my garage not heated work on the car in the garage will likely slow or stop for awhile. In particular any priming will have to stop do to the cold. We wanted to get the bare metal parts of the car covered in primer before that happened. Since these would be the shinny surfaces of the car it was time to try our hand at spray painting. I had helped with a car in high-school (on a high-school budget). I don't remember much but I do remember it didn't go well. I've done my share of spray cans panting over my lifetime and had some success making a decent looking job with those (after lots of wet sanding). So using a spray gun would be an adventure. Good thing it's only the primer coat.


Since we had done a fair amount of sandblasting in the garage the first step for the day was to clean the car and the garage to get rid of the dust. Then clean it again and then again. Then I did some more wire wheeling, sanding and rubbing with a scotch brite pad to ensure the surface was good. Then clean again. I put up some plastic to keep the over spray limited to only part of the garage and covered up some area that would have more dust in it then I could get cleaned.


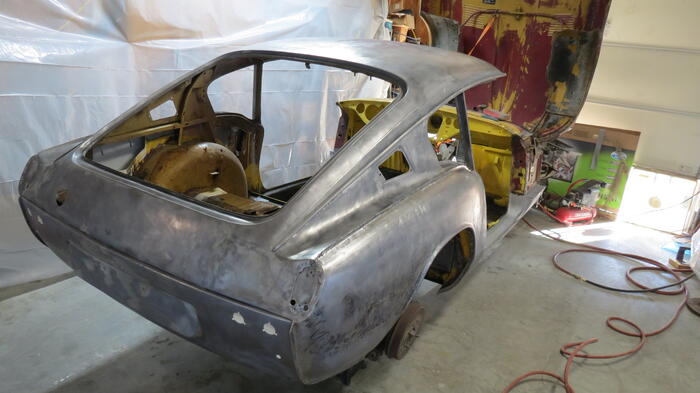
Sprayed on the epoxy primer and it went pretty well. We are using the Harbor freight automotive spray kit. The 3 compressors did a good job and the water separators seemed to be working. With our time crunch we didn't prep much of the inside of the car or the front bulkhead so those weren't painted. I did try to paint the upper rear valence on the inside. I quickly realized that climbing into the car to paint after the outside was coated wasn't a good plan (airline dragging against the side) and that meant the rear only got one coat. Which was ok as it appeared to be missing much of the ledge where it meets the lower valence and the upper part where the hatch rain gutter I couldn't see and so is probably not coated well.


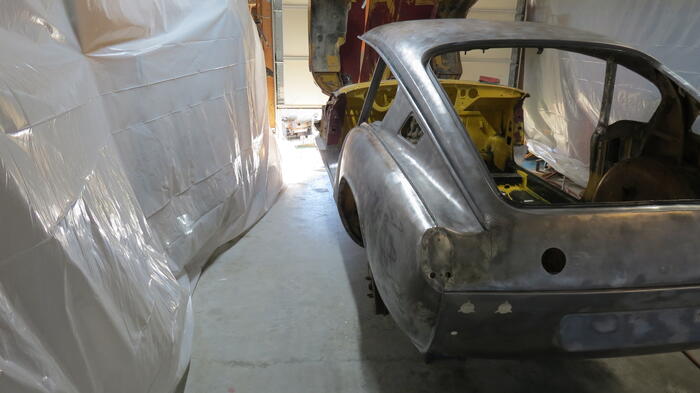
The other thing I found tough was getting all the areas. Particularly tough were the hatch weather seal and rain gutter, insides of the fender pinch welds and inside the rain gutter along the sides of the roof. At one point (early in) I was standing in the hatch trying to spray looking from the inside towards the outside. This had some success. The roof rain gutter in the end looks impossible to get it all. I tried a bunch of angles and it just doesn't seem to get the inside of the part that curls over. This isn't much of a surprise as I had a tough time getting it sand blasted with the nozzle practically in the gutter and sand bounces everywhere. Paint doesn't seem to bounce so much. I'm thinking I'll have to use a small brush or q-tip or something to get that surface.


All in all I thought it went petty well. I'm sure it's got a pretty good orange peal to it but it's going to be block sanded so no worries there. Very happy to have the metal covered for the winter months.

Sunday, November 8, 2020

Stripping Paint

We had considered priming the bare metal parts of the car a week ago but the weather turned cold. The forecast was for better weather ahead so we used the cold days to stripping more areas. Stripping paint has to be one of my least favorite parts.


For stripping we did a combination of wire wheeling and sand blasting. The GT6 roof's rain rail/gutter folds over making it nearly impossible to see all the surface nonetheless remove the paint. The rain rail I sand blasted and even with the sand blaster it was difficult to get all the paint out. All down the inside the rain rail is a seam between the roof and the rail. It seemed to me it would be important to get a good layer of paint sticking in there to keep the water out. (pro tip don't put the ceramic nozzle into the rail and tip it. It will snap the tip off).


With warm weather forecast for this coming week we had set the goal of laying down primer on Monday the 9th. Work last week focused seeing how much we could get stripped ready for paint. We got the roof, sides, rear valence and rocker panels all cleaned off (Bulkhead, scuttle panel still have paint). I would have liked to get more stripped but Saturday we have tickets to the ballet and had to quit work on the car about 5pm.


I should mention that as expected working on areas showed other flaws that needed correcting. So there was also a good amount of weld touch up, additional grinding and sanding done.

Would also like to say that I sandblasted for several hours a couple of times. One session I had the compressors ruining for about 3 hours straight. The store bought water trap right before the blaster had only dust inside the bowl. There was no moisture at all. Opened the valve at the bottom of my homemade drip-leg and a good amount of water came out. Appears that perhaps my water troubles are over :-) Things went so well blasting a blasted several areas that I could have wire wheeled. But once it was out I figured I'd just keep blasting away.


Sunday, November 1, 2020

Roof Repair


Friday evening and Saturday morning were spent on fixing a hole in the front of the roof. Its a bit of a strange hole but I guess water got in from the front then wicked up the seam sealer to a weak spot or something. Or a from scratch that rusted out. Either way there was a hole in the roof and a corresponding hole in the under structure. I've dreaded fixing this one as it's very visible and on a very curvy part.


Started by cutting away the rusted part of the under structure. Which revealed more rust. Particularly in the pinch weld. so that had to be open up and cleaned out. Ended up having to cut out a pretty good chunk of the under structure. I wasn't worried as I had a replacement bit from the parts car.

With that out i sand blasted it to see how much of the upper structure needed replaced. Not as much as the lower, no surprise, but I had toyed with just putting in a backing piece and filling up the hole with weld. That idea was out.

Looking at the roof piece from the parts car I found that it was assembled by spot welding the lower to upper structure pinch weld then AFTER welding folding over the flange. The fold much like a door skin but the seem spot welded before folding. This meant that if I drilled out the welds from the bottom I could leave the nice folded edge when removing them. In hind sight I could have done this to the original structure and perhaps reused that folded over part from my car. Too late now. Anyway sand blasted the parts car pieces and started fitting patches.


Ended up removing the spot welds in the corner by the door some of the water had gotten into those seams and even the first part of the side structure. So drilled all that out and blasted clean.

Turned out not too bad. Not perfect but a skim of filler should all that should be needed.


Beading Floors And Misc

This past  week time was spent trying out a newly purchased beading tool. Being able to bead looked like fun and with so much of the rear fl...