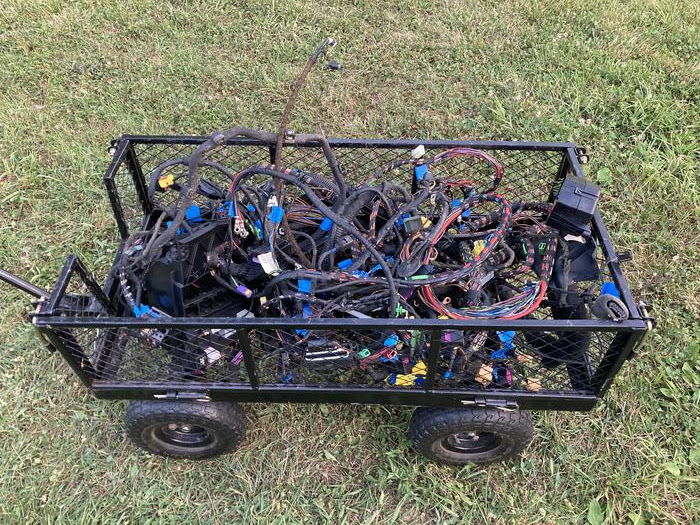
Where did November go? Time flies. The engine timing chain, guides, oil pump and high pressure fuel pump cam have all been replaced, Timing covers back on, oil pan cleaned out and resealed. Engine fixed. Now back to customizing.
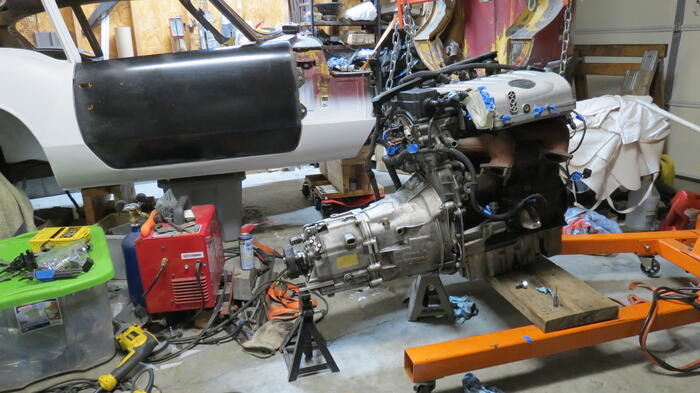
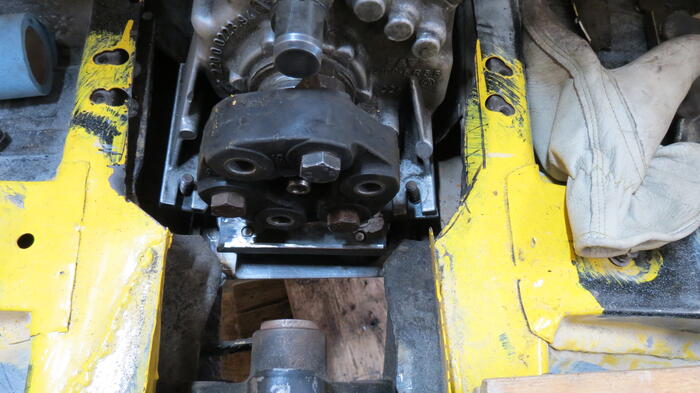
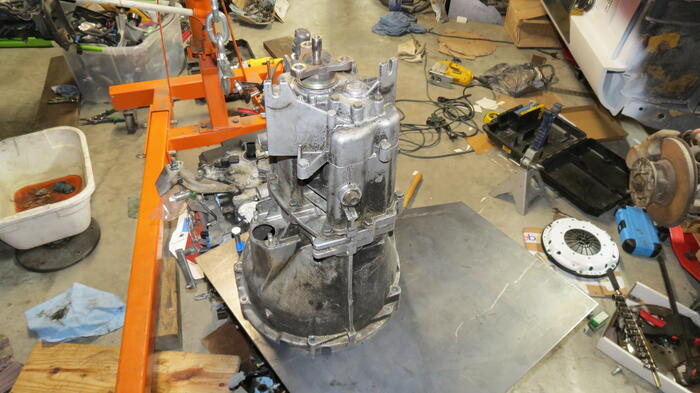
Did a little more to improve the adapter plate. Added 2 counter sink bolts. Turned out nice but forgot to take a picture. It'll be apart again later. Put on the flywheel, clutch and starter. Tested the starter and it was a bit too tight to the ring gear. A little adjustment to the adapter plate and it seems to be working nicely now. Put the transmission on. The first time it has been installed with the clutch. It seems to mesh. Currently there is no release bearing mechanism in the transmission. Thinking of going with a concentric throw out bearing system but will worry about that later. With no driveshaft the car won't be needing a clutch anyway.

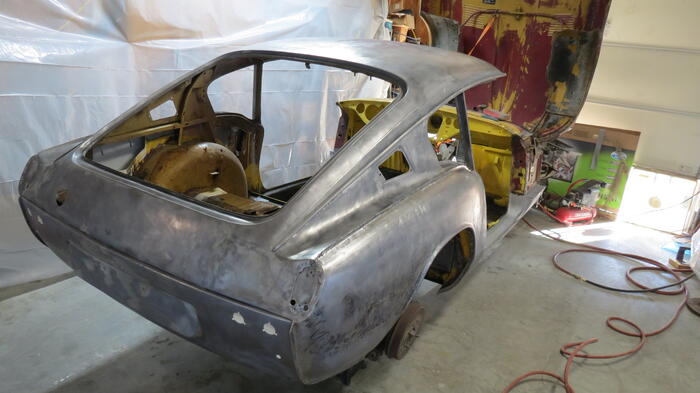
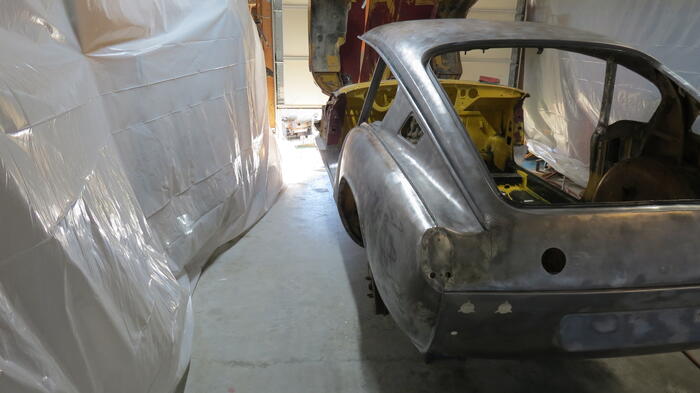
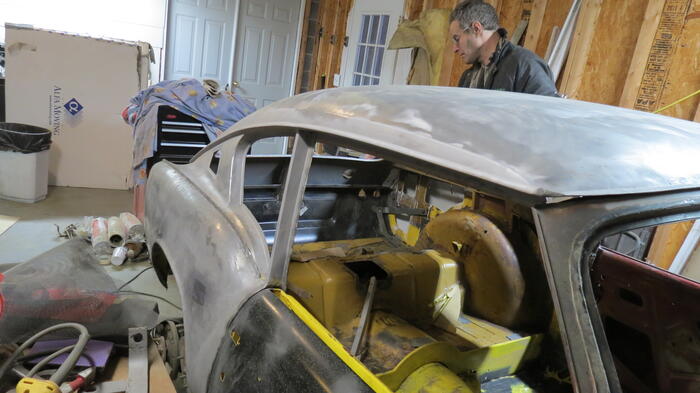
Next up is to turn the car around so the LH side is facing out. That way I can get better access to the oil filter area which needs customizing before I can try and start the engine.
Next up is to turn the car around so the LH side is facing out. That way I can get better access to the oil filter area which needs customizing before I can try and start the engine.